Originally posted 2013-06-24 20:03:45.
Tones, Highlight and Shadows
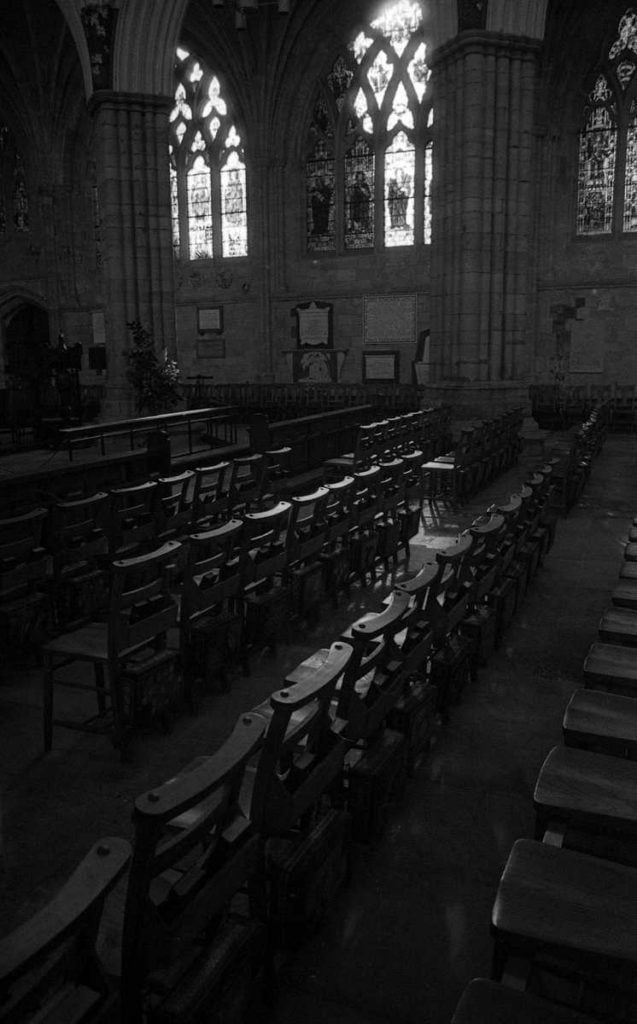
Key is an essential consideration in all photographs. It helps to influence the mood of your picture and to define its message.
Key is just as important in colour as in monochrome work, but to simplify matters we’ll look at these separately.
Low-Key in Monochrome
Photographers talk about two keys: Low and high. Low-key pictures have more dark tones than normal, and high-key pictures have more light tones than normal.
So what is normal? Well, imagine we took a well exposed and printed average scene, say a landscape, and then mixed up all the tones so that they became a flat grey, then a ‘normal’ picture would be amid grey, close to an average reflectance Grey Card. A low-key picture would be much darker and a high key lighter.
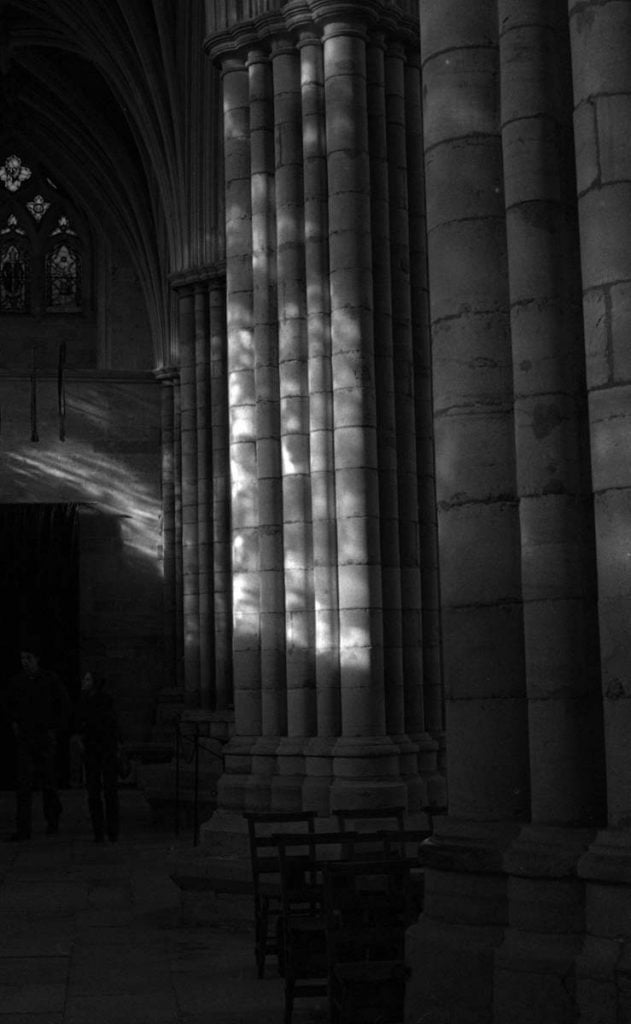
This is because low and high key pictures do not have a normal range of tones. Low-key pictures are predominantly dark, and high-key ones light. A low-key picture may have no true highlights, and a high-key no true blacks. They can be very dramatic but need to be handled very carefully, since it is easy for them just to look ‘too dark’ or ‘too light’. You must never allow the mid-tones to become ‘muddy’.
So how do we avoid this? Well, mainly by the choice of image. Either will tend to suggest itself. Here’s another example of a ‘low-key’ image. As you can see, this does contain pure white highlights, but they are limited, and the overall ‘key’ is dark. By the way, when doing post-production or spotting poctures like this, do try not to remove all the tiny natural highlights that give the image sparkle!
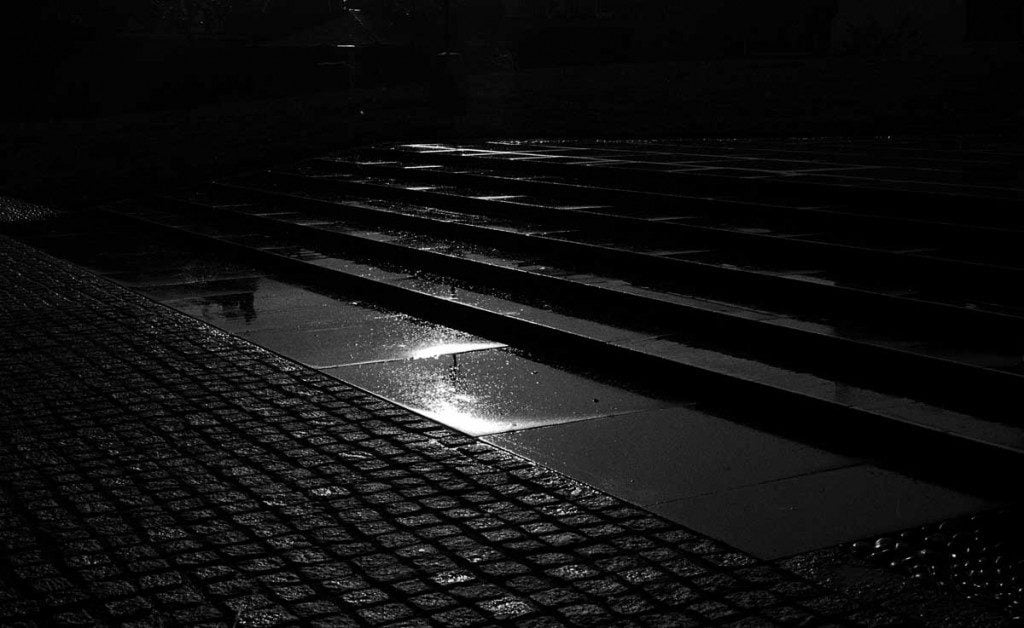
Printing pictures like this in silver gelatin takes a lot of skill and it’s one of the areas I cover in my Darkroom Workshops.
The highlights have to be well defined. Making a low-key picture will almost always involve sacrificing some shadow detail. However, they must never become muddy.
Clearly, these types of image can be made using digital methods, but you must always bear in mind that digital is dumb. Any automated system will always try to render an ‘average’ scene, which is exactly what we do not want here It will always make your low-key images too light. The whole point of a low-key image is that it is dark.
Always beware giving too much control to PhotoShop, Lightroom or whichever image manager you’re using. Make the decisions yourself, and remember that the program you are using will not get it right.
One of the great benefits, by the way, of learning how to make your own silver gelatine prints is the understanding it gives of the subtlety of image creation, especially in monochrome.
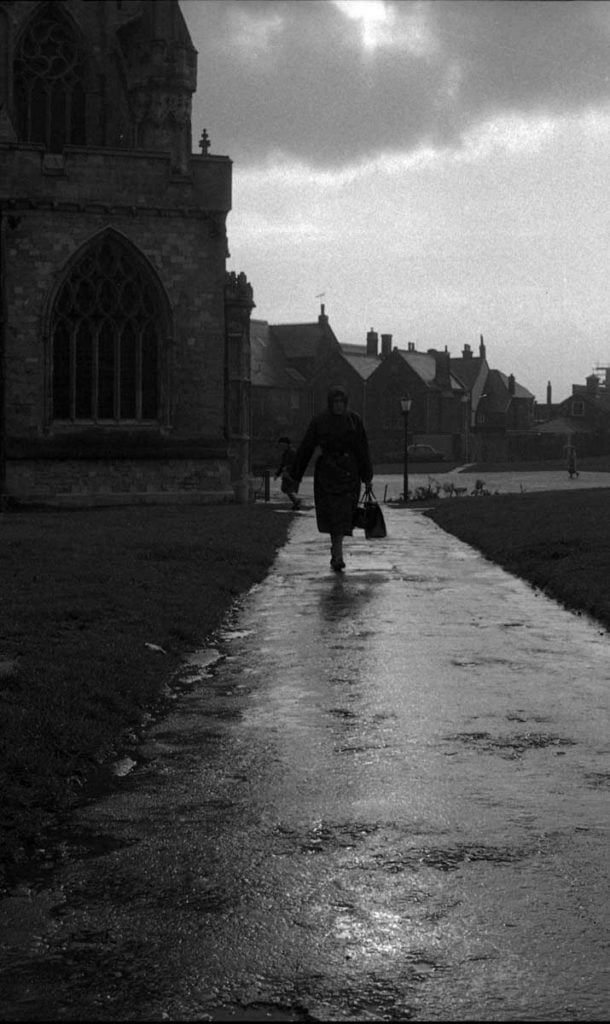
Frequently, as is the case here, great low-key images are made against the light, sometimes called backlit or contre-jour. A modern camera is specifically designed and programmed to deal with backlit situations in a way that is completely unhelpful here.
It will always try to expose as if the significant detail was that which you want to go dark, and allow the highlights too much exposure. Over-exposure is the absolute bane of digital photography, since if something blows out to white, that’s it, there’s nothing there at all.
In film, especially chromogenic (colour negative) film, the inherent latitude or dynamic range of the film means that even in over-exposed highlights, detail will be retained on the film that can be printed. But in digital, as in transparency, once it’s gone it’s gone, and trying to get it back at the printing stage will just give you a uniform pale grey. Not very attractive.
Since you want to retain detail in the highlights at the expense of shadow detail, you have to let your camera know who’s boss. In the first place, you must set it on manual. NO program or auto-exposure mode will cope. Then you have to decide which areas of the image you want to be rendered accurately, and move in close to meter from these.
Use your spot meter setting if you have one. Set the camera controls so that this reads as correct exposure. (In technical terms you want the brightest tones to be around a Zone VI). This will severely underexpose the shadows, but remember, that is what you want here.
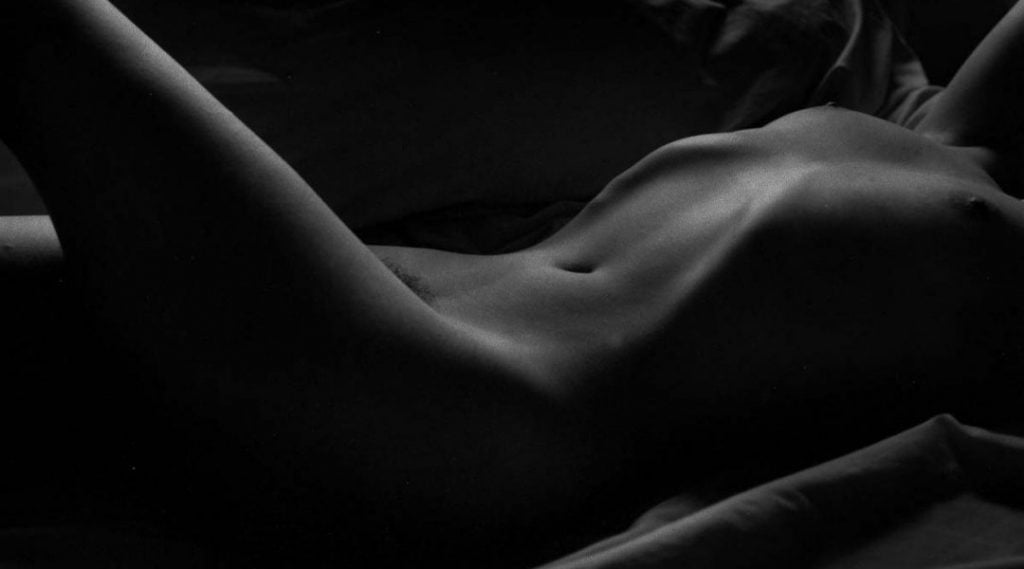
Some images, however, don’t have these highlights, and here you have to be very careful indeed. In the reclining nude, for example, there are no true highlights. In situations like this, you must meter from the skin itself. Usually, Caucasian skin is rendered best on a Zone VI, but here you’ll want to pull back a bit so that the skin tones fall one or two Zones lower.
As a rule of thumb, if you’re in a rush, two stops less exposure than the camera recommends for a general scene should be about right, and if you have no hand-held meter, you may just have to go with this. As always, when using digital, make it an absolute rule to examine each image in the preview screen after exposing it. Bear in mind that the preview screen may not render image brightness accurately, even on better cameras.
Images should appear rich with velvety dark shadows and open, detailed highlights with only the very brightest points (if any) being white.
Human skin can lend itself very well to the low-key image. Skin is incredibly delicate in the way that it reflects light, and monochrome photography, by removing distracting local colour, lets the eye really appreciate this. Whether your interest is in the nude or in portraiture, you should be aware of the potential of low-key images for impact and narrative.
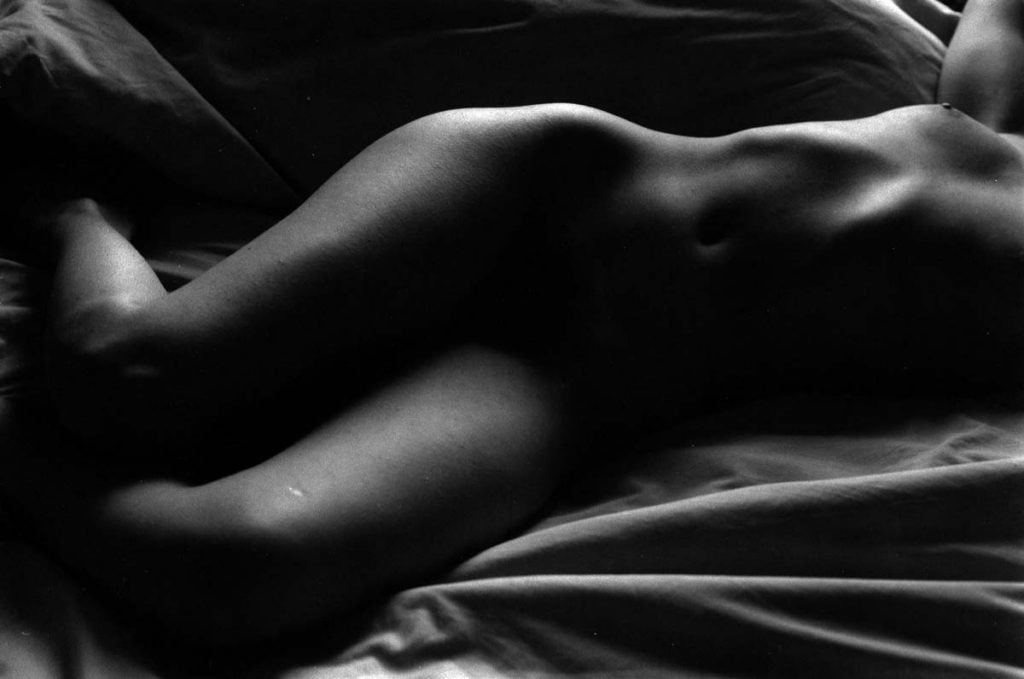
Low-key pictures can feel very romantic and intimate, as well as sombre and moody. It’s up to you to compose your image to maximise these effects. Photography, before anything else, is an art, and photographers have to be able to make the same kind of image-related decisions that any artist would make. Low-key or high-key, contrasty or soft, line, form, weight, these all have to be thought about. In many ways, working in monochrome will force you to take account of these principles, and help you to develop as an artist and photographer.
Another subject area where the techniques of low-key and contre-jour can be used very effectively is in cloudscapes. I first became aware of this as a particular area of study when I was a student, researching the work of Edward Weston, who was to become my lifelong guiding light. Weston did many such studies during his time in Mexico, but his interest was always in form. One of the most sculptural of photographers, Weston used light to reveal form in a completely innovative and revolutionary way, so much so that his pictures remain as fresh now as they were when they fist appeared, ninety years ago.
Cloud forms, especially when the sun is low, can be really spectacular. If you are working in mono then I highly recommend either an orange or even a red filter, which will allow you to take down the tone of the clear sky which your cloud will appear in.
To meter for these situations, use the spot meter on your camera, and set the mode to manual. Meter from the brighter area of cloud itself (but not the very bright fringes where the direct sunlight is caught) and set it on Zone V, or however your camera says ‘correct exposure’. Check the exposure against your preview, if you’re using digital, but remember that clouds change infuriatingly quickly, so don’t be looking at the screen when a great image appears in the sky!
